More Hints on Signs
Regarding doing skits at your retreat, I’ve said before that I like signs! With minimal scenery and props, a sign can give your audience a wealth of information in a small space.

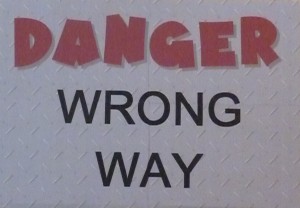
While many times we will make our signs by hand, the above are some computer-generated signs created for our recent retreat skit. I asked Kristen to share some of her “secrets” for sign-making:
To create a sign using Microsoft Publisher, select a custom size blank page and give it the dementions of the foam board you will be attaching it to. Once you have your blank page, then Google to pull up a few websites were you can download free fonts and free backgrounds. I like 1001freefonts.com and backgroundlabs.com.
Once you’ve selected your background you can then paste it on the page. Make sure it goes all the way to the edge or a little bit over. Then add a text box with your sign wording. To make your text box transparent (so your background shows through), click Ctrl T when the text box is selected. You can easily move items around on the page by holding down Ctrl and Alt and using the arrow buttons to move the item. This allows you to line up things more precisely.
Now that you are ready to print, make sure your printer is ready. Most printers will automatically divide your sign into several pages (if your sign is larger than a standard sheet of paper). After printing, you will cut off all the white edges. Then carefully glue or tape each piece to the foam board, taking care to line it up perfectly. This way it will appear to be one large print!
See some of our other suggestions on making signs here.
